How To Create Reusable Blocks In WordPress Block Editor
Table of Contents
Managing a WordPress site requires efficient workflows, especially when I used to paste the same Call-to-action on every post like I was laying the same brick, again and again, across a whole neighborhood. It worked, but it was slow, and I always missed one page when I needed to update the wording.
That’s why reusable blocks WordPress users rely on are such a relief. In the Gutenberg editor, the foundation where these tools live, you’ll usually see them called synced patterns in newer WordPress versions, but the idea stays the same: update once, and every copy updates everywhere.
In this guide, I’ll show you how I create them, where I manage them, and the gotchas I watch for before I hit “Save.”
Reusable blocks vs synced patterns (and why the name changed)
If you learned Gutenberg a while back, you probably remember “Reusable blocks.” WordPress has been moving toward a more organized system, prominent with WordPress version 6.3, so the same feature is now commonly presented as Patterns, with a choice to make them synced or not.
Here’s the mental model I use:
- A pattern is a saved layout you can insert again.
- An unsynced pattern is for layouts that don’t need to stay identical.
- A synced pattern is a pattern where all copies share the same content.
- “Reusable blocks” is the older name many of us still say out loud.
Reusable blocks are essential for maintaining consistent design across various block themes.
For a quick refresher on how patterns work in general, I like WordPress’s own docs on using block patterns. If you want the official, current terminology around synced vs non-synced, Learn WordPress has a clear walkthrough on creating custom synced or non-synced patterns.
This table is how I decide what to use in the WordPress block editor.
| Option | Best for | What happens when you edit one instance |
|---|---|---|
| Unsynced patterns | Layout starters (hero sections, columns, page sections) | Only that one instance changes |
| Synced patterns (reusable blocks) | Repeated content (CTA, disclaimer, author bio) | Every instance updates site-wide |
One more note: WordPress keeps polishing the editor over time. If you’re curious how patterns and editor tools have evolved, this recap of WordPress 6.2 block editor updates gives helpful context.
How I create a reusable block (synced pattern) step by step
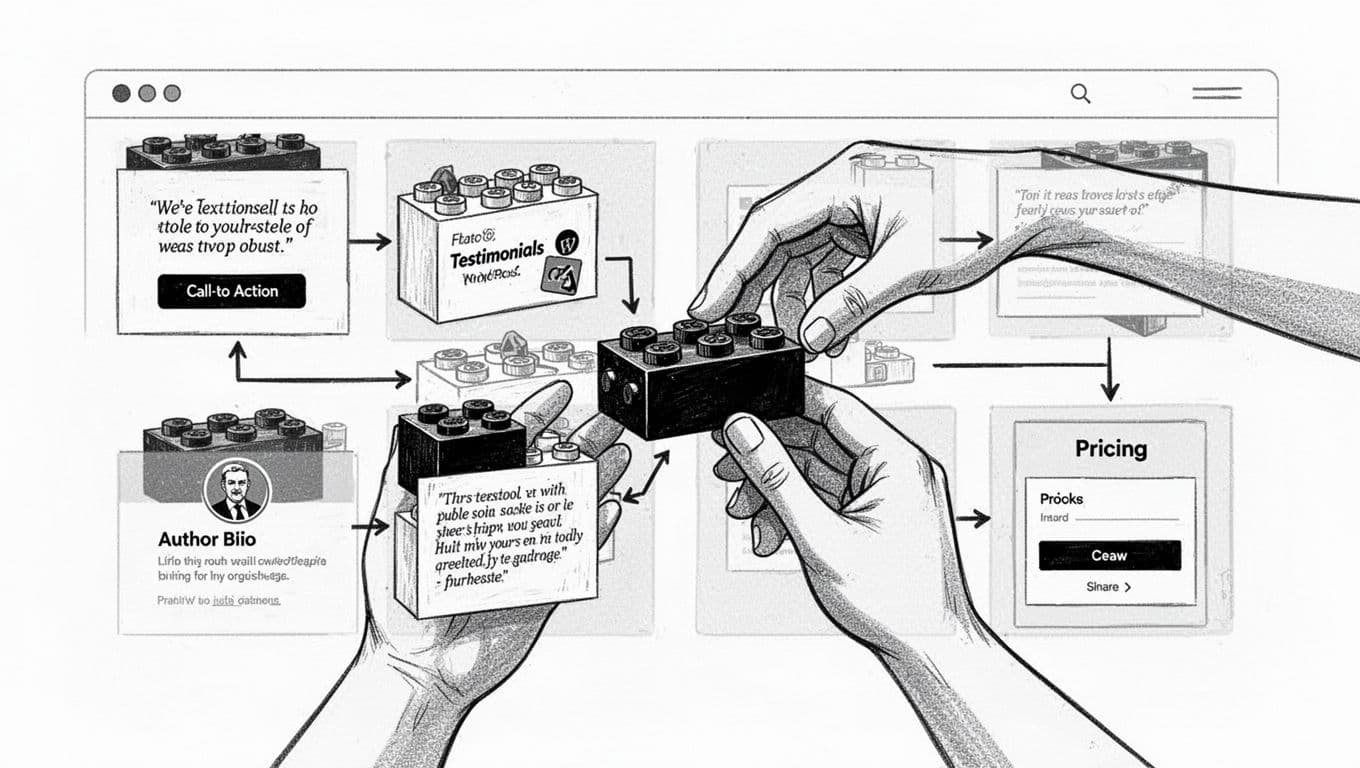
When I build a synced pattern, I start with a real block section I know I’ll reuse. Reusable blocks are great for content snippets like my usual “starter bricks”:
- A newsletter CTA (short text + button)
- A disclaimer (affiliate, medical, legal)
- An author bio (image + 2 lines + social link)
Then I do this:
- Open the page or post (or start a new one with Add new block) where the block already looks right.
- Select the blocks you want to reuse.
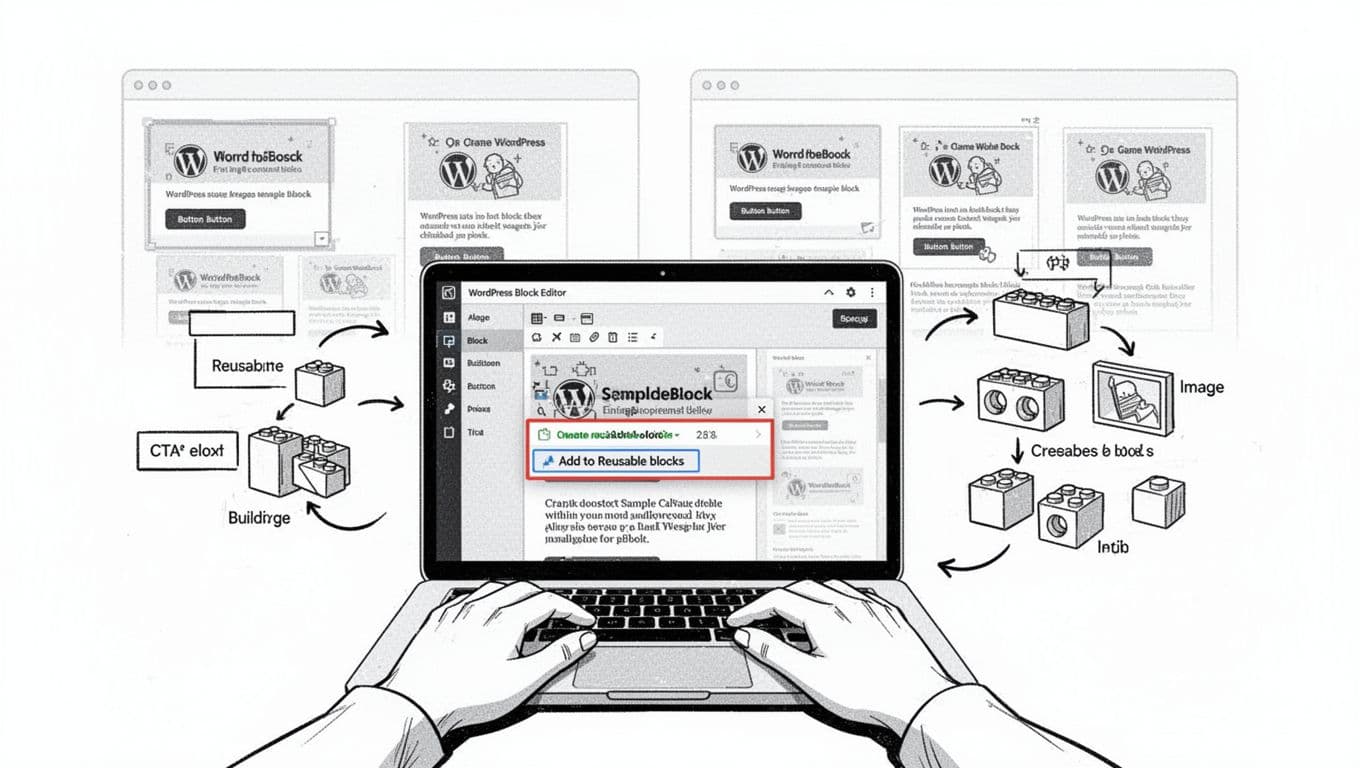
Tip: I often group them first (select multiple blocks, then “Group”) so I’m saving one clean unit. - In the Block toolbar of the selected block/group, click the three-dot menu.
- Choose Create pattern (or in older installs, Add to Reusable blocks).
- Name it clearly.
I use names like “CTA, newsletter (site-wide)” or “Disclaimer, affiliate (footer)”. - Turn on Synced (this is the important part).
If you don’t see a synced toggle, your screen may still call it a reusable block. Either way, the goal is the same: one source of truth. - Click Create (or Save).
Once created, the item is no longer just a regular block. - Insert it somewhere else to test your synced pattern: hit +, go to Patterns, then look under My patterns.
My rule: if changing one copy should change them all, I make it synced. If each page needs custom wording, I keep it non-synced.
A quick example: I have a “Download the checklist” CTA that appears under every tutorial. When I changed the button text from “Download” to “Get the checklist,” synced patterns saved me from opening 40 posts.
How I edit and manage synced patterns (without breaking pages)
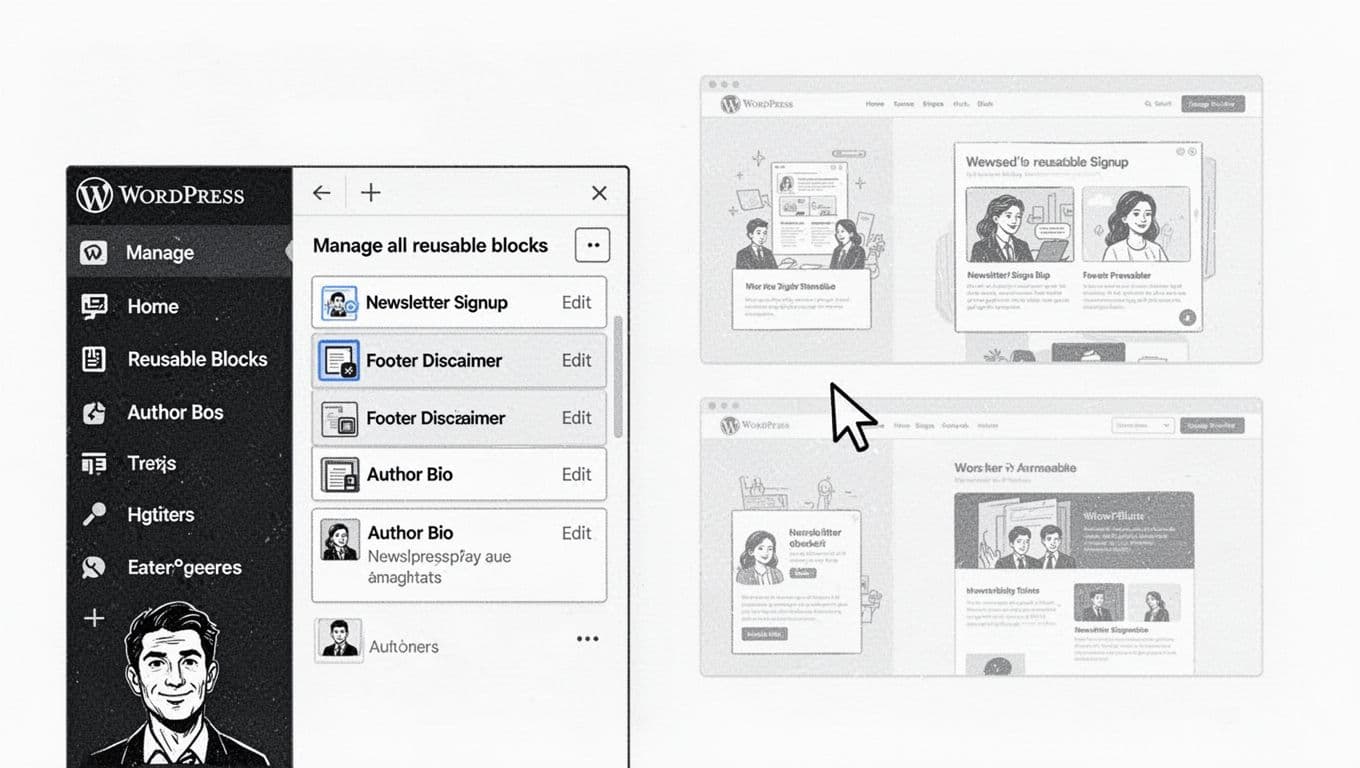
The first time I edited a reusable block, I got spooked. I changed a sentence in a disclaimer, hit update, then realized it changed everywhere (which was the point, but still). Now I follow a simple routine, starting from the WordPress dashboard. There, I access the Manage all reusable blocks screen for bulk management or use the Site editor to Manage patterns effectively.
Editing a synced pattern safely
I usually edit synced patterns in one of two ways:
- Edit from the page: Click the synced pattern, then choose Edit original (wording varies). This keeps me close to the context.
- Edit from the Patterns area: In many setups you’ll find this in the Site Editor under Patterns, often under “My patterns.”
After editing, I always:
- Preview one post and one page that use it, because spacing can look different.
- Check the button link, because a site-wide CTA with the wrong URL is a fast way to lose trust.
The beauty of these global updates is they save time by applying changes everywhere the pattern appears.
Common pitfalls I see (and how I avoid them)
Gotcha: A synced pattern shares content, so a tiny edit can ripple through your whole site. If that’s not what you want, detach blocks before changing text.
A few more snags to watch for:
- Accidental global edits: If you meant to customize one page, look for an option like “Detach blocks” or “Convert to regular blocks” (labels vary). Do that first, then edit.
- Naming chaos: If you name everything “CTA,” you’ll hate your future self. I add purpose + placement, like “CTA, course (blog posts).”
- Formatting quirks: If your synced pattern includes text styling, keep your edits consistent. Even small emphasis changes can look odd. When I need a quick underline, I rely on the same shortcut every time (SmartWP’s underline text in WordPress block editor guide matches what I do with
CTRL + UorCMD + U). - Site transfers: Synced patterns save in JSON file format, so from Manage all reusable blocks you can export as JSON or import from JSON to move them between sites easily.
If you’re building more advanced reusable sections (like custom fields, ACF Blocks, or templates that pull data for your editorial workflow), it can help to understand the limits of native reusable blocks. ACF’s overview of using WordPress reusable blocks effectively is a solid reality check.
Conclusion
Reusable blocks (synced patterns) feel like keeping a tidy bucket of bricks next to your workbench. I use them for anything I repeat across posts, especially CTAs, disclaimers, and bios. The main trick is simple: sync only what should always match. If you set that rule early, you’ll save hours later, and your WordPress site stays consistent without the busywork. Ultimately, reusable blocks and synced patterns deliver consistent design on any WordPress site. Mastering these WordPress block editor tools will significantly speed up your content creation.