
How To Use Health Check Mode To Find WordPress Plugin Conflicts
Table of Contents
The fastest way I know to spot a plugin conflict without breaking a live site is WordPress health check mode (Troubleshooting Mode). I use it when a page builder suddenly won’t load, a checkout stops working, or the admin turns into a white screen right after I install “one last plugin.”
Here’s the point: Troubleshooting Mode lets me turn everything off for my session only, then turn things back on one at a time until the problem returns. Visitors keep seeing the normal site, which means I can test safely, even in the middle of the day.
In this guide, I’ll walk through what Health Check mode does, how I enable it, how I isolate the conflict, and what I do to confirm the fix.
What WordPress health check mode actually changes (and what it doesn’t)
Troubleshooting Mode is like putting your site in a private “test bubble.” Inside that bubble, WordPress loads with a minimal setup so I can figure out what’s fighting.
Here’s what usually happens when I enable it:
- Plugins get disabled for me only, so my admin and front-end tests run without them.
- A default theme may load for me, depending on how the tool is configured.
- Visitors are not affected, because they aren’t in my logged-in troubleshooting session.
That last point is where people get tripped up. This is not the same as deactivating plugins for the whole site. It’s closer to opening a “clean room” version of WordPress, then walking back in one plugin at a time.

When I’m unsure whether I’m dealing with a plugin issue, I also keep WordPress’s official troubleshooting guidance handy. The training lesson at Learn WordPress on plugin and theme conflicts does a good job explaining the common patterns.
A few safety notes I follow every time:
- I test in an incognito window (or a separate browser profile). That avoids cached sessions and weird admin bar behavior.
- I write down what I’m testing, because it’s easy to forget the order after five plugins.
- I remind myself that some issues involve caching, a CDN, or server rules, so a “clean” test doesn’t always recreate every symptom.
If the bug only appears for logged-out visitors, test that in a separate incognito window while you troubleshoot in your logged-in session.
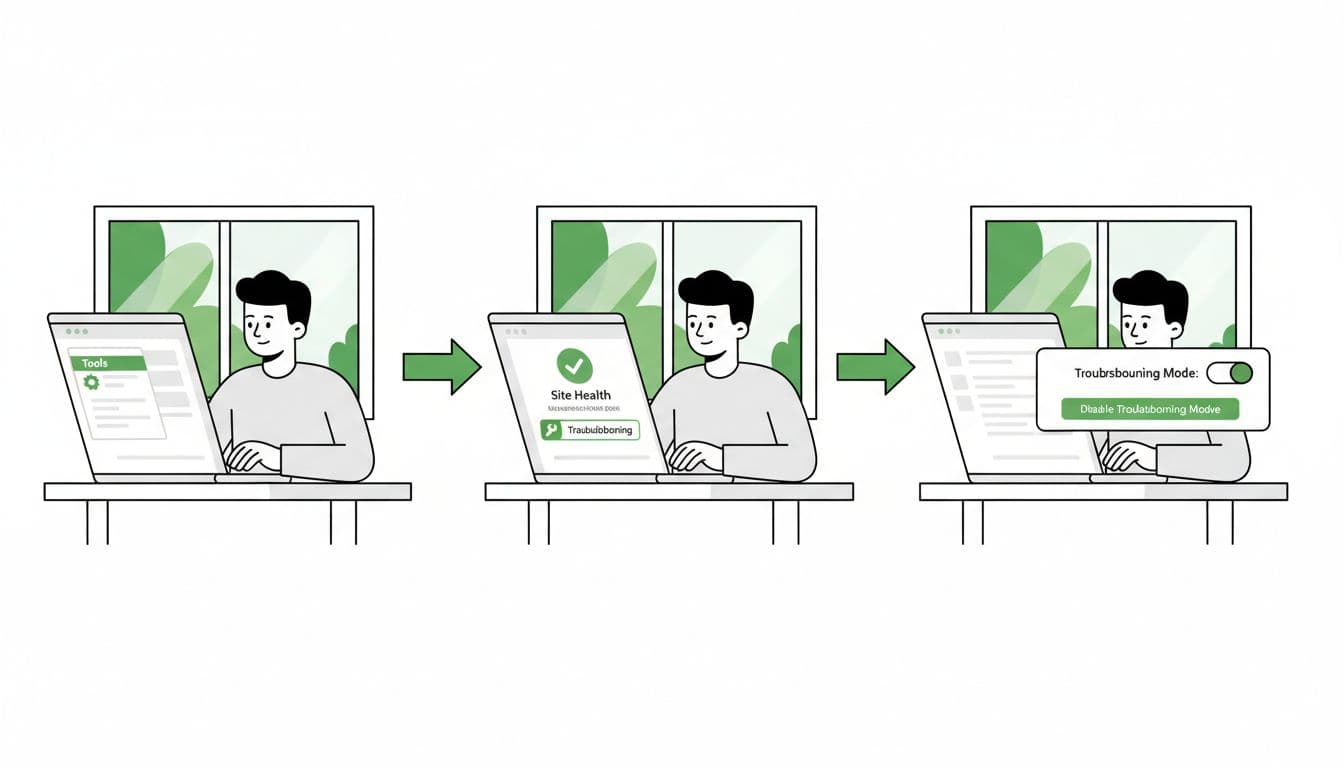
Enable Troubleshooting Mode safely (step-by-step, with expected outcomes)
In March 2026, the path is still straightforward: you work through Tools > Site Health, then use the Troubleshooting tab. On many sites, that Troubleshooting tab comes from the “Health Check & Troubleshooting” plugin (often already installed by hosts or support teams).
Before I start, I take a quick backup. Even though this mode is “safe,” I don’t like surprises.
- Open an incognito window and log in to wp-admin.
Expected outcome: I have a clean admin session with fewer caching quirks. - Go to Tools > Site Health.
Expected outcome: I see the Site Health screen with status info and tabs. - Click the Troubleshooting tab.
Expected outcome: I see an explanation of Troubleshooting Mode and a button to enable it.
If there’s no Troubleshooting tab, I install and activate the Health Check troubleshooting tool first. - Click “Enable Troubleshooting Mode.”
Expected outcome: A notice appears (often in the admin bar) showing Troubleshooting Mode is active. My plugin list will now show special links like “Enable while troubleshooting.” - Confirm visitors still see the normal site.
Expected outcome: In a separate browser (or a second incognito window where I’m logged out), the site looks unchanged.
This step matters because it keeps me calm. I’m testing, not “pulling the plug.”
For reference, WordPress.com’s documentation also explains the same idea, including what changes inside the troubleshooting session: use the troubleshooting tool to resolve errors.
Isolate the plugin conflict without guessing (my repeatable workflow)
Once Troubleshooting Mode is on, I treat it like a controlled experiment. I want one change at a time, and I want a clear “pass” or “fail” after each change.
Step 1: Reproduce the problem in normal mode
First, I confirm the issue is real and repeatable. For example, I’ll try the exact action that breaks (save a post, add to cart, open the Customizer, load a form).
Expected outcome: I can reliably trigger the problem, not just “sometimes.”
Step 2: Re-test inside Troubleshooting Mode with everything disabled
Now I repeat the same action while Troubleshooting Mode has plugins disabled.
Expected outcome:
- If the problem goes away, I’m probably dealing with a plugin or theme conflict.
- If the problem still happens, I shift my suspicion to the theme, custom code, server caching, or a PHP error.
Step 3: Enable plugins one at a time (or in small groups)
Go to Plugins. You’ll see actions like Enable while troubleshooting.
- Enable one plugin while troubleshooting.
Expected outcome: The site still works, and the bug stays gone (best case). - Refresh and repeat the exact test.
Expected outcome: I get a clear result: either the bug returns, or it doesn’t. - If nothing breaks, disable it again and enable the next plugin.
Expected outcome: I keep narrowing the field without stacking too many variables.
When I’m dealing with 30+ plugins, I’ll sometimes enable them in small groups (like analytics plugins together). Still, I log every move so I can backtrack.
Gotcha: Sometimes no single plugin “causes” the bug. The real problem is a pair of plugins that conflict only when both are active.
A solid example of this testing approach is described by a plugin vendor here: conflict testing with the Health Check plugin. Even if you don’t use their product, the method translates well.
Step 4: Test your theme inside Troubleshooting Mode
If plugin toggling doesn’t recreate the issue, I test the theme next (still inside Troubleshooting Mode). The Troubleshooting interface usually lets me switch themes for my session.
Expected outcome: If switching to a default theme makes the bug disappear, the theme (or theme code) is involved.
Step 5: Document the result, then exit cleanly
I write down:
- The exact symptom (what broke and where)
- The “trigger” (what action causes it)
- The plugin(s) and theme involved
- The WordPress version, PHP version, and the plugin versions
If I’m doing dev work, I may also use code to verify plugin states. SmartWP has a handy guide on how to check if a WordPress plugin is active with PHP, which helps when I’m writing compatibility checks.
Finally, I disable Troubleshooting Mode from the admin bar.
Expected outcome: Everything returns to normal, and I’m not stuck in a “half-disabled” admin session.
Other ways I confirm a conflict (when Health Check isn’t enough)
Troubleshooting Mode finds most conflicts fast, but I still like a second signal before I blame a plugin publicly.
Here’s the quick comparison I use:
| Method | Best for | What I look for |
|---|---|---|
| Staging site | Risky changes, long test sessions | Whether the issue matches live behavior |
| Browser console | Front-end errors | JavaScript errors, blocked resources |
| PHP error logging | White screens, fatal errors | Stack traces, “undefined function,” memory issues |
A staging site is my favorite “next step” because I can reproduce traffic-like conditions and test updates. The browser console helps when a conflict is really a JavaScript collision. Meanwhile, PHP error logs tell the truth when the screen shows nothing.
If you want another walkthrough from a support team angle, this article explains the same troubleshooting flow and why it works: address conflicts using Health Check troubleshooting.
Conclusion
When my site breaks after a plugin change, WordPress health check mode is my first move because it keeps visitors safe while I test. I enable Troubleshooting Mode, reproduce the bug, then turn plugins on one at a time until the issue returns. After that, I document what I found, fix or replace the plugin, and disable Troubleshooting Mode so everything goes back to normal.
If you’re stuck between two “maybe” plugins, run the test again and keep your notes tight. The pattern usually shows up on the second pass.