How to Create a Custom WordPress Login Page Without Plugins (Clean, Branded, Secure)
Table of Contents
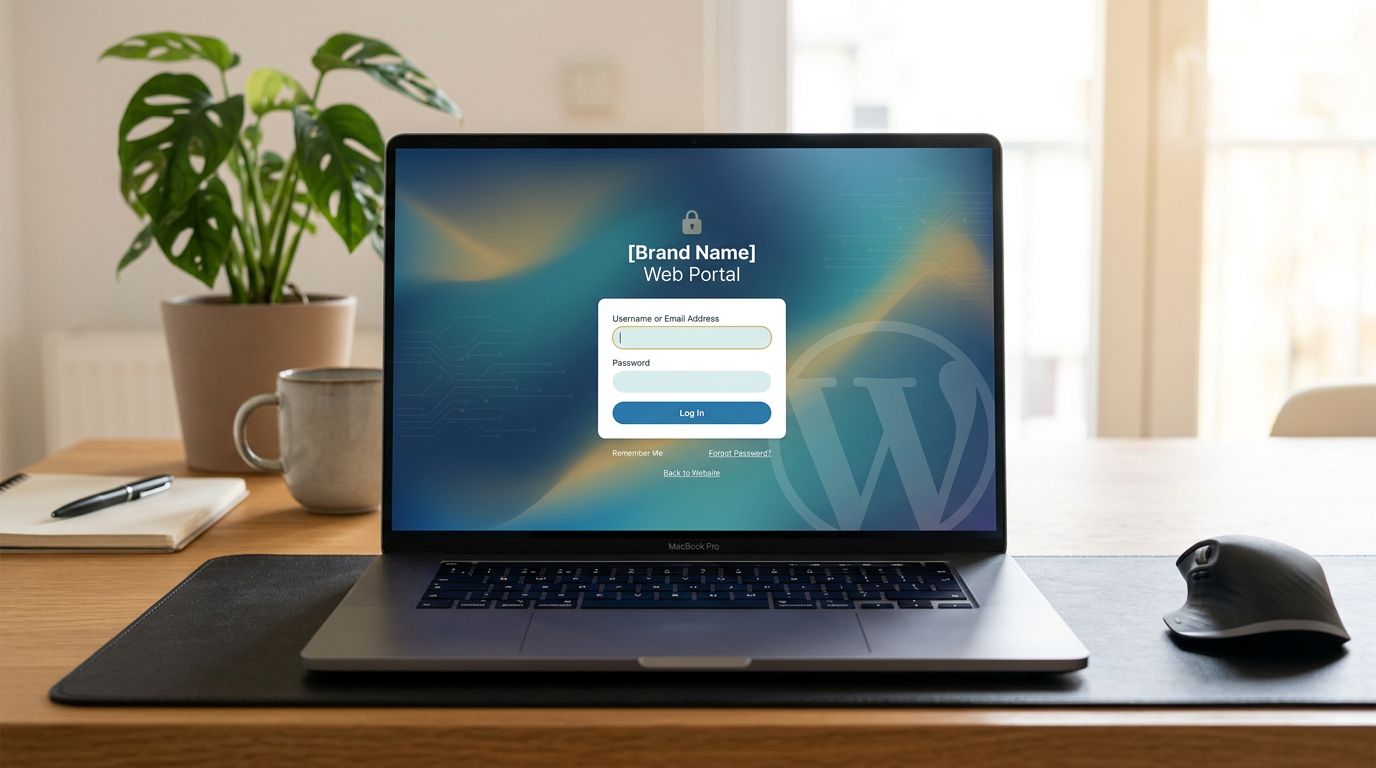
The first time I tried to “brand” a login screen, it felt like painting the front door while leaving the side door wide open. /wp-login.php, the default entry point, still sat there, plain as ever, breaking the site’s visual flow, and my site’s vibe vanished the moment someone signed in.
For consistent branding, smooth user experience, and strong site security, especially on a membership site, creating a custom WordPress login page is key.
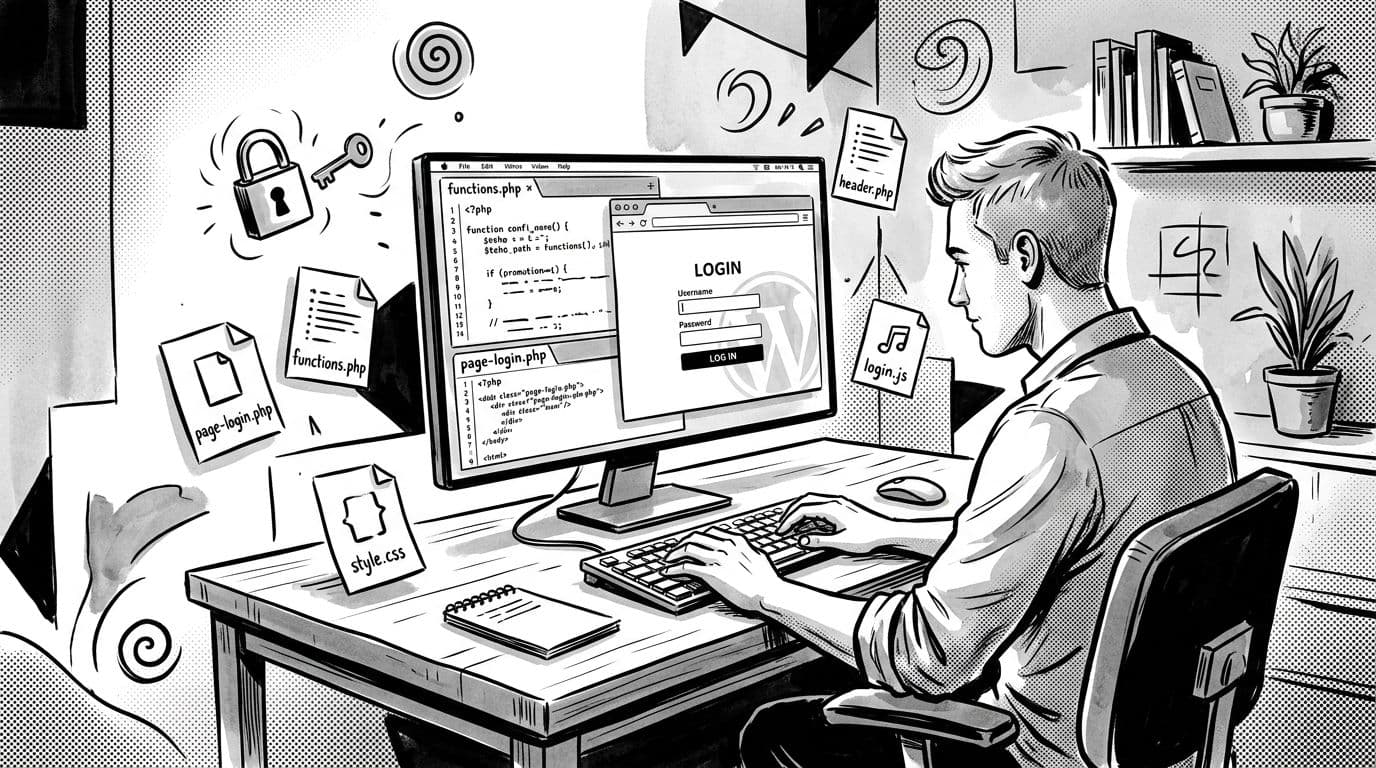
So I started building a custom WordPress login page the same way I build most things in WordPress: one small template, one focused function, and no extra baggage. In this guide, I’ll show you a code-first approach that keeps WordPress authentication intact, improves UX, bolsters site security, and gives you a login URL you can actually design.
You’ll end up with a front-end /login/ page that logs users in securely with nonces, sanitization, and accessible markup.
Plan the approach (so you don’t fight WordPress later)
Before writing code, I decide what “custom login” means for the project. There are two common paths:
- Style the default screen (
wp-login.php) using login hooks. - Create a front-end login form using shortcodes (what we’re doing), then optionally redirect people away from
wp-login.phpto the custom WordPress login page.
I like the front-end approach because it’s part of my theme, so it can match the site perfectly. WordPress still handles auth, cookies, and sessions. I’m just giving it a nicer doorway. The shortcode for the login form gets registered in functions.php to handle the logic.
Here’s the setup I use:
- Create a page in WordPress called “Log In” and set the slug to
login. - Add a custom page template in your active theme (a child theme is safer).
- Render a login form via a shortcode, then process it with
wp_signon().
Create a file at: wp-content/themes/your-theme/page-login.php
<?php
/**
 * Template Name: Custom Login
 */


get_header();


if ( is_user_logged_in() ) {
	echo '<main class="wrap"><p>You are already logged in.</p></main>';
	get_footer();
	exit;
}
?>
<main class="wrap smartwp-login-page">
	<h1><?php echo esc_html( get_the_title() ); ?></h1>


	<?php
	// Output the login form via shortcode.
	echo do_shortcode('[smartwp_custom_login]');
	?>
</main>
<?php
get_footer();
Now edit the “Log In” page in wp-admin, and assign the template Custom Login.
If you also want ideas for styling the default screen (WordPress logo, background image, button colors), I’ve bookmarked SmartWP’s WordPress login page customization guide for quick reference.
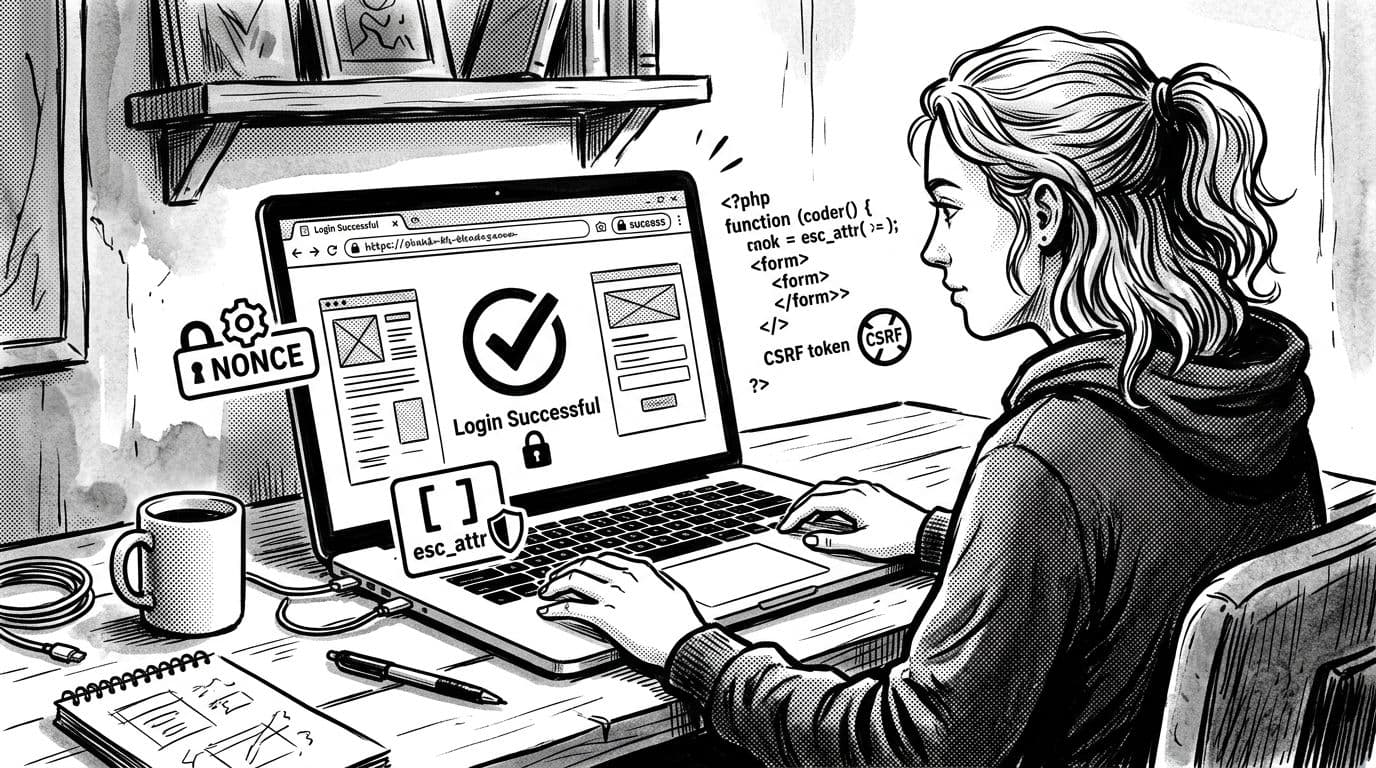
Build the login form (shortcode + secure processing)

Next, I add the shortcode and the login handler in functions.php. This keeps the template clean, lets me reuse the login form anywhere, and incorporates site security best practices like secure nonce verification to help prevent brute force attacks.
Paste this into functions.php:
<?php
// 1) Process the login POST before rendering the page.
add_action('init', function () {
	if ( empty($_POST['smartwp_login_submit']) ) {
		return;
	}

	if ( ! isset($_POST['smartwp_login_nonce']) || ! wp_verify_nonce( sanitize_text_field( wp_unslash($_POST['smartwp_login_nonce']) ), 'smartwp_login' ) ) {
		$GLOBALS['smartwp_login_error'] = 'Security check failed. Please try again.';
		return;
	}

	$user_login = isset($_POST['log']) ? sanitize_user( wp_unslash($_POST['log']) ) : '';
	$user_pass  = isset($_POST['pwd']) ? (string) wp_unslash($_POST['pwd']) : '';
	$remember   = ! empty($_POST['rememberme']);

	$redirect_to = '';
	if ( isset($_POST['redirect_to']) ) {
		$redirect_to = esc_url_raw( wp_unslash($_POST['redirect_to']) );
	}
	$redirect_to = $redirect_to ? wp_validate_redirect( $redirect_to, admin_url() ) : admin_url();

	$creds = [
		'user_login'    => $user_login,
		'user_password' => $user_pass,
		'remember'      => $remember,
	];

	$user = wp_signon( $creds, is_ssl() );

	if ( is_wp_error($user) ) {
		// Keep the login error message generic to reduce account discovery signals and mitigate brute force attacks.
		$GLOBALS['smartwp_login_error'] = 'Invalid username or password.';
		return;
	}

	wp_safe_redirect( $redirect_to );
	exit;
});

// 2) Shortcode that renders the login form.
add_shortcode('smartwp_custom_login', function () {
	$error = isset($GLOBALS['smartwp_login_error']) ? (string) $GLOBALS['smartwp_login_error'] : '';

	$redirect_to = '';
	if ( isset($_GET['redirect_to']) ) {
		$redirect_to = esc_url_raw( wp_unslash($_GET['redirect_to']) );
	}

	ob_start();
	?>
	<div class="smartwp-login">
		<?php if ( $error ) : ?>
			<div class="smartwp-login__error" role="alert" aria-live="assertive" tabindex="-1">
				<?php echo esc_html( $error ); ?>
			</div>
		<?php endif; ?>

		<form method="post" class="smartwp-login__form" action="">
			<p class="smartwp-login__field">
				<label for="smartwp-log">Username or Email</label>
				<input id="smartwp-log" name="log" type="text" autocomplete="username" required>
			</p>

			<p class="smartwp-login__field">
				<label for="smartwp-pwd">Password</label>
				<input id="smartwp-pwd" name="pwd" type="password" autocomplete="current-password" required>
			</p>

			<p class="smartwp-login__field smartwp-login__remember">
				<input id="smartwp-rememberme" name="rememberme" type="checkbox" value="forever">
				<label for="smartwp-rememberme">Remember me</label>
			</p>

			<?php wp_nonce_field( 'smartwp_login', 'smartwp_login_nonce' ); ?>
			<input type="hidden" name="redirect_to" value="<?php echo esc_attr( $redirect_to ); ?>">

			<p class="smartwp-login__actions">
				<button type="submit" name="smartwp_login_submit" class="smartwp-login__button">Log In</button>
			</p>

			<p class="smartwp-login__links">
				<a href="<?php echo esc_url( wp_lostpassword_url() ); ?>">Lost your password?</a>
			</p>
		</form>
	</div>
	<?php
	return ob_get_clean();
});
A quick accessibility note: the labels are real <label> elements, errors announce via role="alert", tabindex="-1" lets us focus the error box with JavaScript (next section), and the remember me checkbox is properly implemented with standard HTML attributes for broad compatibility. This setup handles login error messages securely while supporting password reset via the lost password link. For production sites, layer on two-factor authentication or reCAPTCHA to strengthen site security further, and consider future integrations like social login.
If your host or cache layer caches
/login/, your login form can act “haunted” (stale nonces, weird redirects). Exclude the login page from caching.
Style it, add focus states, and (optionally) steer people away from wp-login.php
At this point, the page works, but it’s still wearing default clothes. To boost branding and elevate the user experience, enqueue custom CSS for form styling that supports responsive design. While the default login screen relies on login_enqueue_scripts, our method enqueues assets only on this standard page template. This code-first white label approach skips the live preview and plugin settings found in commercial tools, but it delivers more flexibility via action hooks. I also add a tiny script to focus the error message when it appears.
Add this to functions.php as well:
<?php
add_action('wp_enqueue_scripts', function () {
	if ( ! is_page_template('page-login.php') ) {
		return;
	}

	wp_enqueue_style(
		'smartwp-login',
		get_stylesheet_directory_uri() . '/assets/css/custom-login.css',
		[],
		'1.0'
	);

	wp_enqueue_script(
		'smartwp-login',
		get_stylesheet_directory_uri() . '/assets/js/custom-login.js',
		[],
		'1.0',
		true
	);
});
Create assets/css/custom-login.css in your theme. This custom CSS provides the form styling with responsive design elements like max-width for better adaptability across devices:
.smartwp-login { max-width: 420px; padding: 24px; border: 1px solid #e6e6e6; border-radius: 14px; background: #fff; }
.smartwp-login__field { margin: 0 0 14px; }
.smartwp-login label { display: block; margin-bottom: 6px; font-weight: 600; }
.smartwp-login input[type="text"],
.smartwp-login input[type="password"] { width: 100%; padding: 12px; border: 1px solid #cfcfcf; border-radius: 10px; }
.smartwp-login input:focus { outline: 3px solid #111; outline-offset: 2px; }
.smartwp-login__button { padding: 12px 16px; border: 0; border-radius: 10px; background: #111; color: #fff; cursor: pointer; }
.smartwp-login__error { margin-bottom: 14px; padding: 12px; border-radius: 10px; background: #fff4f4; border: 1px solid #ffbcbc; }
Create assets/js/custom-login.js:
document.addEventListener('DOMContentLoaded', () => {
  const err = document.querySelector('.smartwp-login__error');
  if (err) err.focus();
});
For full branding control, pair this custom CSS with tweaks to the WordPress logo, background image, and custom logo URL (SmartWP has guides for those). Now for the “side door” problem: people (and bots) can still hit /wp-login.php. Redirecting that URL improves site security, though it won’t stop targeted attacks; it just cuts background noise. For broader login security hygiene, I keep Sucuri’s list handy: best practices to secure your WordPress login page.
Optional redirect snippet (test carefully):
<?php
add_action('login_init', function () {
	if ( is_user_logged_in() ) {
		return;
	}

	$action = isset($_REQUEST['action']) ? sanitize_text_field( wp_unslash($_REQUEST['action']) ) : '';
	if ( $action ) {
		return; // Allow lostpassword, logout, etc.
	}

	if ( 'GET' === $_SERVER['REQUEST_METHOD'] ) {
		wp_safe_redirect( home_url('/login/') );
		exit;
	}
});
If you want to go a step further and skip plugin settings altogether, SmartWP also covers how to change your WordPress login URL as another layer to cut down on drive-by attempts. On some hosts, it’s also worth reading WP Engine’s take on customizing and securing the login experience to align UX changes with security realities.
Conclusion
A custom WordPress login page should feel like a front door you actually recognize, not a generic back entrance. With a page template, a shortcode, and wp_signon(), you create a branded login flow where a hand-crafted login form delivers superior branding control, all while letting WordPress core authentication handle the heavy lifting. This solution offers multisite support and stands as the cleanest way to manage authentication without bloated plugins. Start simple, test in a private window, then tighten security and accessibility once the basics feel solid. Build your custom WordPress login page this way, and you can keep it clean, fast, and fully under your control.