
Best WordPress Cache Plugins for Bloggers in 2026
Table of Contents

I learned the hard way that a slow blog kills user experience, feeling like making readers wait outside the theater while you search for the keys. The words can be great, the photos can be perfect, and still, people bounce because the page drags.
That’s why I treat WordPress cache plugins like a backstage crew. They prep the scene before anyone steps into the room, so the show starts on time. In 2026, improving page speed scores is a primary goal for bloggers because Core Web Vitals still reward sites that load fast, stay stable, and respond quickly.
Below are the caching plugins I’d put on a blogger’s site today, plus how I’d pick one without breaking a theme, page builder, or a few key “money pages.”
Caching in 2026: what actually moves the needle (Core Web Vitals included)
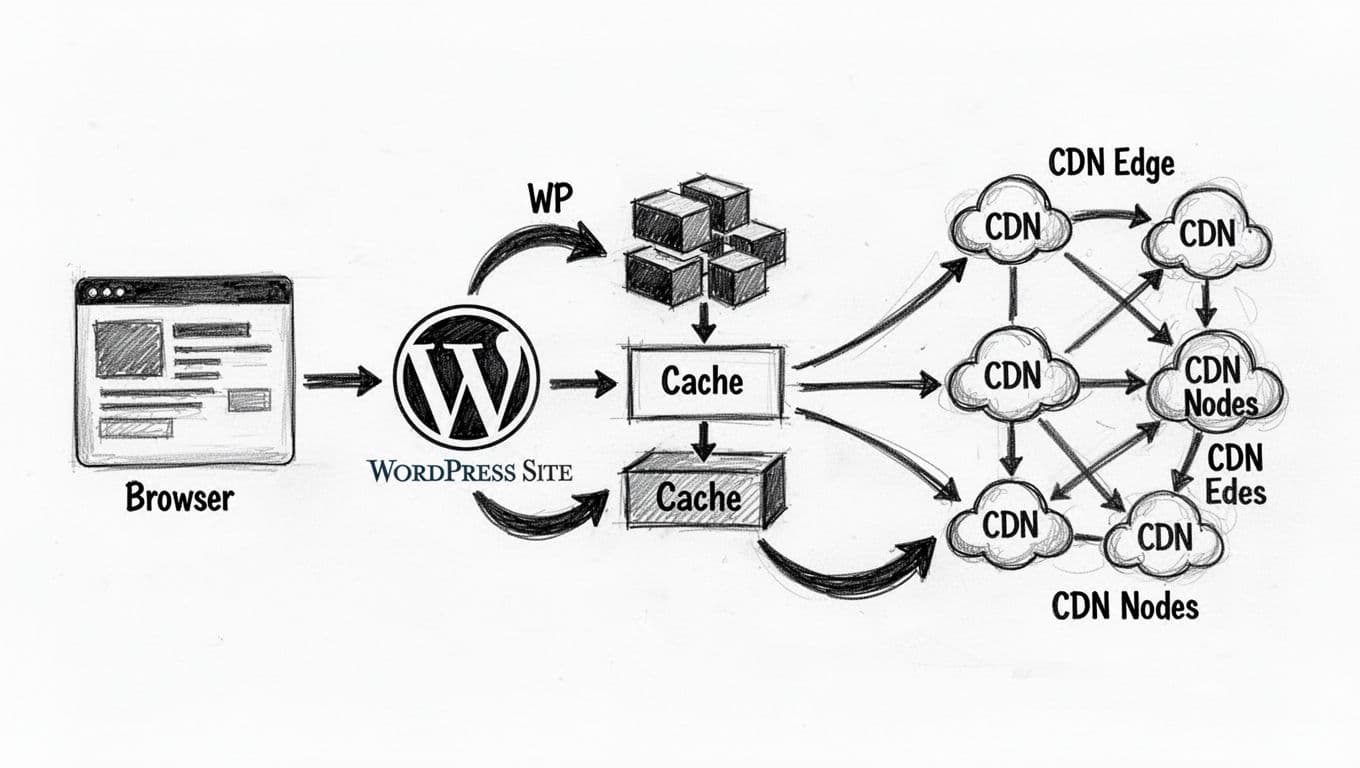
At its simplest, caching saves your site from “cooking the same meal” for every visitor. Server-side caching through page caching transforms dynamic content into static HTML files, which reduces Time to First Byte and avoids rebuilding pages with PHP and database queries every time, so a cache plugin serves a ready-to-go version.
For bloggers, the wins usually show up in three places:
- LCP (Largest Contentful Paint): Page caching, preload, and image lazy loading can make the main content appear faster.
- CLS (Cumulative Layout Shift): Better image sizing, font handling, and critical CSS reduce those annoying layout jumps.
- INP (Interaction to Next Paint): Delaying heavy scripts, cleaning unused CSS, and avoiding bloated front-end features helps your site feel snappy.
Still, caching is only one piece of speed. If you want the full checklist (theme, images, CDN, and more), I’d pair this with SmartWP’s guide to speed up your WordPress site.
My rule: run one caching plugin, not two. When caching tools overlap, troubleshooting becomes a mess.
Also, remember the modern pattern most bloggers use in 2026: cache plugin for page and asset optimizations, plus a CDN integration strategy (often Cloudflare) for global performance beyond just local caching. That combo usually beats endless micro-tweaks.
My short list of WordPress cache plugins (plus a quick decision tree)

I like data-driven testing, so I still skim community benchmarks when I’m stuck between two choices. This 2026 write-up, WordPress Performance Plugins 2026 benchmark, is a solid example of what I mean.
Here’s the quick comparison I use for bloggers. The best choice often depends on your specific hosting environment:
| Plugin | Best fit for bloggers | Strengths that matter in 2026 | Main tradeoff | Pricing notes |
|---|---|---|---|---|
| LiteSpeed Cache | You’re on a LiteSpeed host | Server-level speed, strong CWV tools, QUIC.cloud options | Too much going on at first | Free |
| WP Rocket | You want “set it and move on” | Easy wins, safe defaults, good file optimizations | Not free | Paid yearly license |
| FlyingPress | You want Core Web Vitals help without fiddling | Remove unused CSS, critical CSS approach | Smaller ecosystem, paid only | Paid subscription |
| W3 Total Cache | You like knobs and dials | Deep control, CDN support, Object Cache for complex sites | Easy to misconfigure | Free core, paid upgrades |
A simple decision tree (how I’d pick in five minutes)
- If my hosting environment runs LiteSpeed, I start with LiteSpeed Cache.
- If I want the easiest paid route, I choose WP Rocket.
- If my biggest headache is CSS and layout stability, I lean FlyingPress.
- If I’m optimizing a busy site and I’m comfortable testing changes, I consider W3 Total Cache.
For those looking beyond standard plugin features, Cloudflare Enterprise stands out as a high-end alternative.
(And if you want more plugin ideas beyond caching, SmartWP’s 2026 WordPress plugin reviews are a helpful browse.)
Plugin-by-plugin notes (use case, features, drawbacks, setup)
LiteSpeed Cache
Ideal use case: I use this when the site sits on LiteSpeed hosting and I want maximum speed without paying for a caching plugin.
Standout features: Strong page caching, object caching support, and a big toolbox for image optimization and asset optimization. It also plays nicely with common CDN patterns, including QUIC.cloud and Cloudflare-style setups.
Potential drawbacks: It’s powerful, but the settings can feel like a cockpit. On non-LiteSpeed servers, you won’t get the same results.
Pricing notes: Free.
Quick setup checklist:
- Enable page cache and cache mobile (if your theme needs it).
- Turn on lazy loading and basic CSS/JS minification.
- Connect your CDN option, then purge cache and test.
WP Rocket
Ideal use case: This is my pick when I want speed gains fast, with the least chance of breaking a layout.
Standout features: One-click caching, preload, lazy loading, delay JavaScript, and file optimization. When I’m chasing script delays, I often follow up with SmartWP’s guide to eliminate render-blocking resources.
Potential drawbacks: It’s paid, and some “aggressive” file settings can still conflict with certain themes or page builders.
Pricing notes: Paid yearly license (tiers by site count).
Quick setup checklist:
- Turn on cache + preload + mobile caching, then check logged-in user behavior.
- Enable lazy loading, then test a few image-heavy posts.
- Add one feature at a time in file optimization, test, repeat.
FlyingPress
Ideal use case: I reach for FlyingPress when Core Web Vitals are the priority and I want a clean approach to CSS delivery.
Standout features: It focuses heavily on remove unused CSS and improving above-the-fold rendering with preload critical images, which can help both LCP and CLS on content-heavy blogs. I’ve also seen thoughtful discussions around what works in 2026, like this post on what actually works for caching in 2026.
Potential drawbacks: It’s paid only, and it may feel less “familiar” than older plugins.
Pricing notes: Paid subscription, plan varies by site count.
Quick setup checklist:
- Enable page caching and CSS features first.
- Turn on lazy loading and font optimizations.
- Test templates, especially your homepage and category pages.
W3 Total Cache
Ideal use case: I use W3 Total Cache when I want full control, especially on a busy blog where I’m comfortable measuring changes.
Standout features: Lots of caching layers (page, browser, object), plus CDN support. It can be great when you need a custom setup and you’re willing to tune.
Potential drawbacks: The plugin is easy to misconfigure. One wrong minify setting can scramble your layout.
Pricing notes: Free core plugin, optional paid upgrades.
Quick setup checklist:
- Start with page cache only, confirm stability.
- Add browser caching headers and GZIP compression next.
- Touch minify last, and test every template type.
While these plugins handle assets effectively, database optimization via a tool like WP-Optimize can provide additional backend speed gains.
The compatibility checks I always do before and after caching
Caching should feel invisible. Still, a few pages need special care, even on a “simple” blog.
I always exclude (or at least verify) these areas:
- Login, admin, and anything behind membership gates
- Comment forms, search results, and dynamic widgets
- Cart and checkout flows for WooCommerce stores (if you add them later)
After setup, I test in a private window, on mobile, and on one older device if I can, checking page speed scores across these. I also verify browser caching using browser developer tools to ensure assets aren’t being re-downloaded unnecessarily. Then I purge the cache once more after I’m happy.
If something looks off, I don’t panic. I disable one optimization at a time, starting with minify and JS delays.
Conclusion
A good cache plugin makes your blog feel like the lights come up right on cue. In 2026, finding the Best WordPress Cache Plugins for Bloggers is about balancing power with user experience, and that helps meet Core Web Vitals standards while keeping readers around. Lazy loading and image optimization remain the low-hanging fruit for any blogger starting their optimization journey. My advice is simple: pick the plugin that matches your hosting and patience level, configure the basics, then test changes one at a time. Once your WordPress cache plugins choice is stable, you can go back to writing, because that’s the part that actually builds the audience.