
How to Enable PHP OPcache for WordPress on Any Server (2026)
Table of Contents
The first time I flipped on PHP OPcache for a busy WordPress site, it felt like I’d cleaned out a cluttered engine room. Nothing about the theme changed, nothing about the content changed, but the server stopped repeating the same work on every request.
If you’re trying to enable PHP OPcache (a critical step for performance optimization) and you want a safe, server-agnostic setup, this guide walks through what to change, where to put it (php.ini vs conf.d vs PHP-FPM pool files), and how to confirm WordPress is actually benefiting.
OPcache for WordPress, explained like an engine tune-up
WordPress runs on PHP. Every page load triggers opcode caching, where the Zend Engine takes PHP code and turns it into bytecode, then executes it. Without OPcache, PHP repeats that compile step over and over, even when your code hasn’t changed.
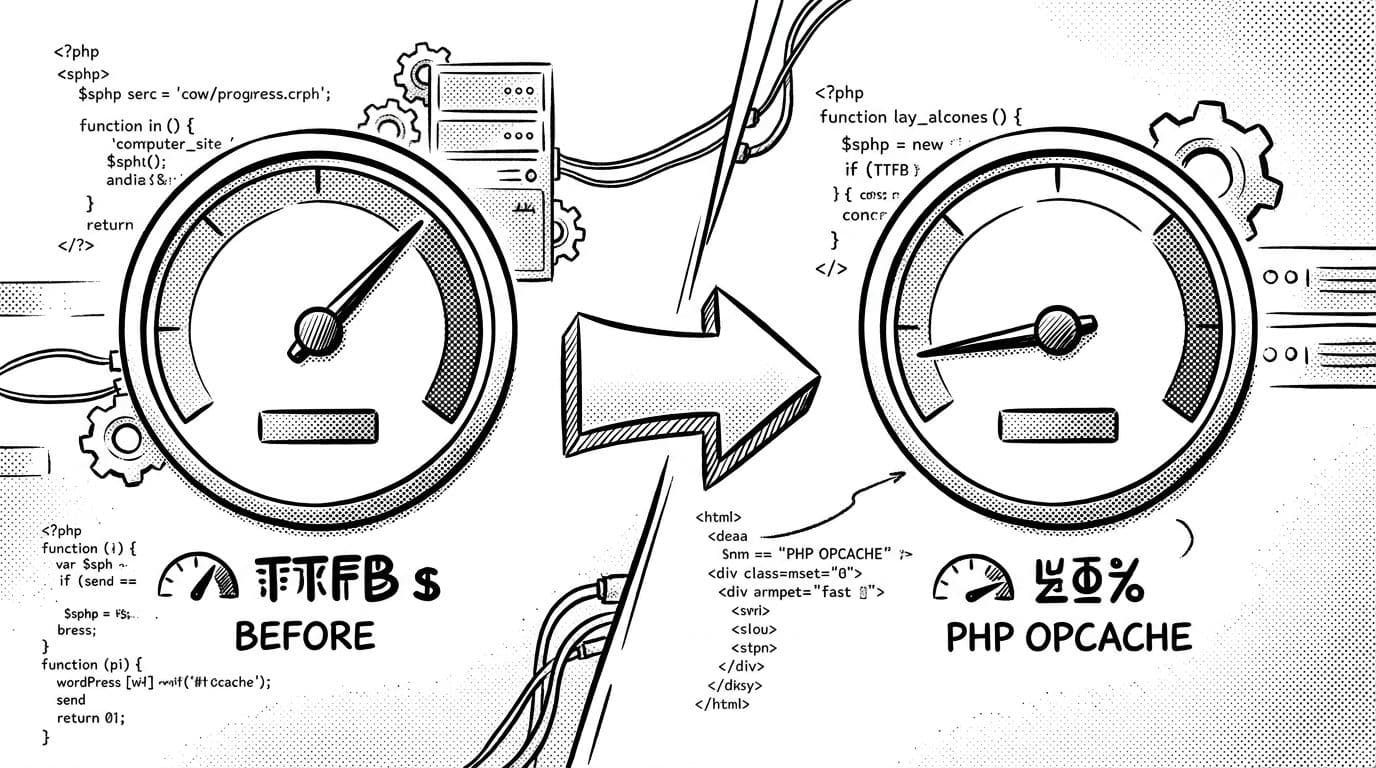
PHP OPcache fixes that with a caching system that stores the precompiled script in shared memory to speed up script execution. After that, PHP can skip the “recompile everything” step and jump straight to execution. On real sites, that usually shows up as lower TTFB (time to first byte) and steadier response times under load.
A quick reality check though: OPcache is not a page cache. It won’t replace full-page caching, a CDN, or good database tuning. Instead, it reduces CPU waste inside PHP itself. I think of it like keeping your tools laid out on the bench, instead of digging through drawers for the same wrench every time.
If you want a deeper, panel-focused explanation of the common OPcache ini options, Webuzo’s documentation is a decent reference for context: how to configure PHP OPcache ini settings.
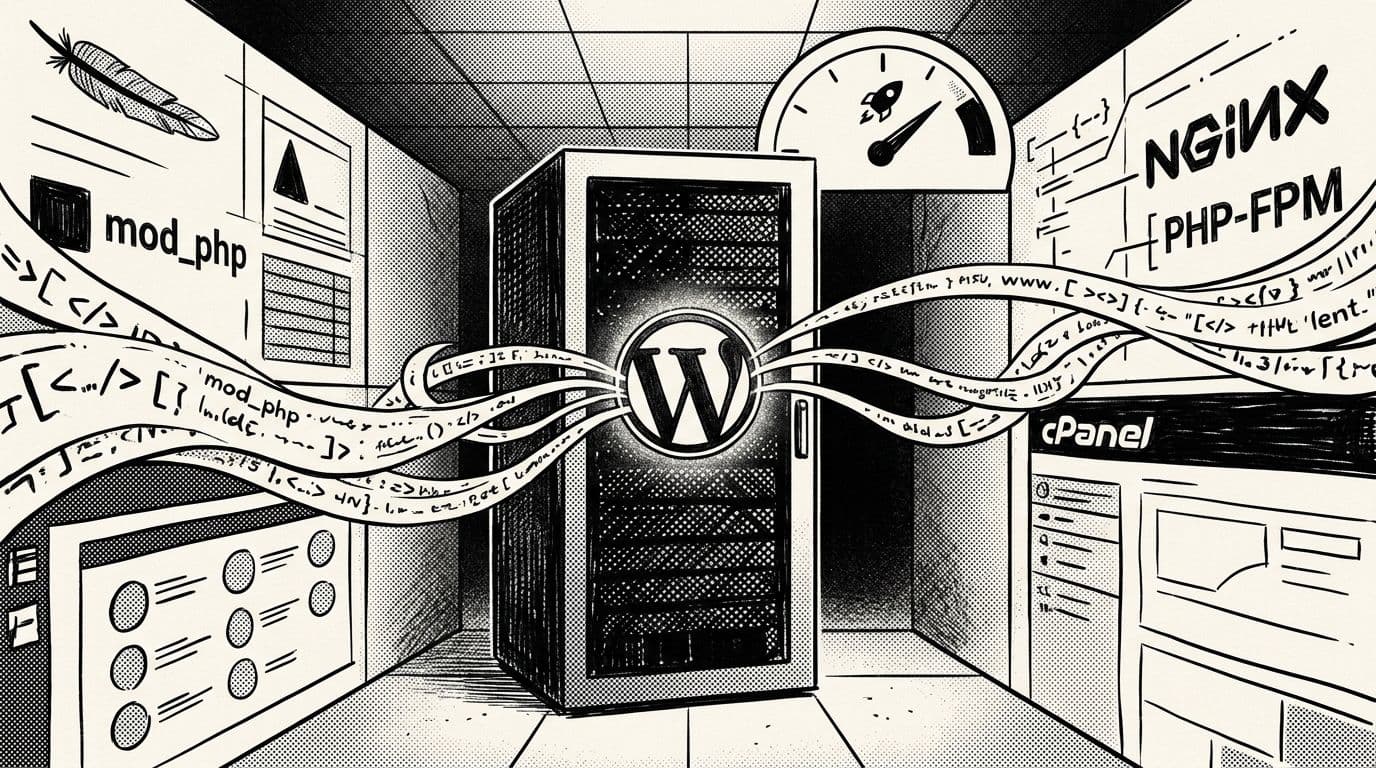
Before I enable OPcache: I confirm PHP version and which PHP I’m editing
Most OPcache “it didn’t work” stories come down to editing the wrong config file. WordPress might run through PHP-FPM, Apache mod_php, or a hosting panel’s PHP build. Each can use different ini paths.
Step 1: Confirm your PHP version (and don’t guess)
In WordPress, I usually check Tools > Site Health > Info > Server first to find the PHP version. If you want the exact clicks, this guide shows it clearly: check WordPress PHP version.
On the server, I also run:
php -v
php --ini
That second command tells me which php.ini the CLI uses; note that php -v shows the CLI version, which may differ from the PHP version WordPress uses. Helpful, but not the whole story, because WordPress traffic often hits PHP-FPM or Apache, not the CLI.
Step 2: Identify your PHP “SAPI” (FPM vs Apache)
Here’s the shortcut I use:
- If you’re on NGINX, you’re almost always using PHP-FPM.
- If you’re on Apache, you might be using PHP-FPM or mod_php (older setups).
If you have PHP-FPM, you’ll typically see config paths like:
- Debian/Ubuntu:
/etc/php/8.x/fpm/php.iniand/etc/php/8.x/fpm/conf.d/ - RHEL/Alma/Rocky:
/etc/php.iniand/etc/php.d/
Search for configuration directives inside the php.ini file at these paths.
If you change OPcache settings and see no improvement, assume you edited the wrong ini file until proven otherwise.
Enable PHP OPcache on Debian/Ubuntu, RHEL-based servers, and common panels
Debian/Ubuntu (Apache or Nginx + PHP-FPM)
-
Install the OPcache shared extension (names vary by PHP version on Ubuntu):
sudo apt update
sudo apt install php-opcache
On Ubuntu and some servers you’ll use versioned packages like
php8.2-opcache. Ifphp-opcacheisn’t found, check which PHP packages you installed. -
Put your runtime configuration settings in a dedicated ini file (my preference):
- PHP-FPM:
/etc/php/8.x/fpm/conf.d/10-opcache.ini - Apache:
/etc/php/8.x/apache2/conf.d/10-opcache.ini
Copy-pasteable safe defaults for WordPress:
; OPcache baseline (safe for WordPress)
opcache.enable=1
opcache.memory_consumption=128
opcache.interned_strings_buffer=16
opcache.max_accelerated_files=20000
opcache.validate_timestamps=1
opcache.revalidate_freq=2
opcache.save_comments=1
opcache.jit=0
opcache.jit_buffer_size=0
Key runtime configuration settings here include
opcache.enable,opcache.memory_consumption,max_accelerated_files, andopcache.revalidate_freq. - PHP-FPM:
-
Restart PHP-FPM so the new ini is actually used (service name varies by version):
sudo systemctl restart php8.2-fpm-
Nginx (usually not required for ini changes, but harmless):
sudo systemctl reload nginx -
Apache service (if using mod_php):
sudo systemctl reload apache2
-
RHEL, AlmaLinux, Rocky (Apache or Nginx + PHP-FPM)
-
Install OPcache:
sudo dnf install php-opcache -
Edit the standard OPcache ini file (common path):
/etc/php.d/10-opcache.ini(often exists after install)- Or set values in
/etc/php.ini
Use the same safe defaults snippet from above.
-
Reload the right service:
-
PHP-FPM:
sudo systemctl reload php-fpm -
Apache:
sudo systemctl reload httpd
-
Optional: set OPcache per PHP-FPM pool (when you host multiple sites)
When I’m isolating high-traffic sites, I sometimes set OPcache directives inside the pool config:
- Debian/Ubuntu:
/etc/php/8.x/fpm/pool.d/www.conf - RHEL-based:
/etc/php-fpm.d/www.conf
Example snippet:
php_admin_value[opcache.enable]=1
php_admin_value[opcache.memory_consumption]=128
php_admin_value[opcache.max_accelerated_files]=20000
If a directive doesn’t “stick” from the pool file, I move it back into 10-opcache.ini. Different builds can be picky.
cPanel/WHM and Plesk notes (shared hosting included)
On VPS or dedicated servers with cPanel, I usually enable OPcache in WHM MultiPHP INI Editor for the active PHP version, then restart PHP-FPM from WHM (or via SSH).
On shared hosting, you may not have permission to enable OPcache, and many OPcache directives can’t be set in .user.ini. In that case, I ask the host to confirm OPcache is enabled and what limits are set.
Verify OPcache is working (and confirm WordPress benefits)
Step 1: Confirm Zend OPcache is loaded for the web SAPI
CLI checks are easy, but they can mislead you:
php -m | grep -i 'Zend OPcache'
That only proves the CLI has Zend OPcache. To confirm the web side, I do one of these:
- Check
phpinfo()on a temporary, access-controlled URL, then delete it. - Or create a tiny one-off script that prints OPcache status, then remove it immediately.
Example (temporary) script contents:
<?php
header('Content-Type: application/json');
$s = function_exists('opcache_get_status') ? opcache_get_status(false) : null;
echo json_encode($s, JSON_PRETTY_PRINT);
You’re looking for signs like opcache_enabled: true and a non-zero hit rate after traffic warms it up.
Don’t leave an OPcache status script public. It can expose paths and environment details.
Step 2: Measure TTFB before and after
I like to keep it simple and repeatable:
curl -s -o /dev/null -w "TTFB: %{time_starttransfer}nTotal: %{time_total}n" https://yoursite.com/
Run it a few times before changes, then again after. The first request after a restart can be slower, so I compare averages after 5 to 10 runs. A faster TTFB benefits the overall WordPress site experience.
Step 3: Tune PHP OPcache (opcode caching) carefully (and avoid risky “fastest possible” settings)
These are the two settings I treat like live wires:
opcache.validate_timestamps: Keep it1for most WordPress sites. Setting0can cause “why won’t my plugin update show up?” headaches unless you have a real deploy process that restarts PHP-FPM on every release. Also, be cautious with JIT compilation in PHP 8 and later, as it can introduce compatibility issues.opcache.memory_consumption: 128 MB is a sane start. On plugin-heavy sites, I often move to 192 or 256, but only after checking RAM headroom. Note that adjusting the optimization level can be complex.
If you want extra reading on how these knobs affect WordPress caching behavior, this hosting-focused overview is solid background: understanding and configuring OPcache for WordPress.
For maintenance work, I also lean on WP-CLI so I can update and test faster after server changes. This SmartWP guide is the one I keep bookmarked: WP-CLI commands for WordPress updates.
Conclusion
When I enable PHP OPcache, a foundational performance optimization, I’m not chasing magic; I’m removing repeated work from PHP’s workload. This caching system manages shared memory effectively to significantly improve any WordPress site. Start with safe defaults, reload the right service, then prove the win with TTFB and OPcache hit rate. After that, tune memory and file counts slowly, and keep timestamp validation on unless you restart PHP on deploy. If you do that, WordPress feels less like a crowded kitchen and more like a clean line where every tool is already in reach.