How To Offload WordPress Media To Cloudflare R2 In 2026
Table of Contents
My WordPress Media Library always starts out tidy, like a clean closet. Then a few years pass, I publish more posts, I upload “just one more” hero image, and suddenly my hosting disk looks like it’s holding its breath.
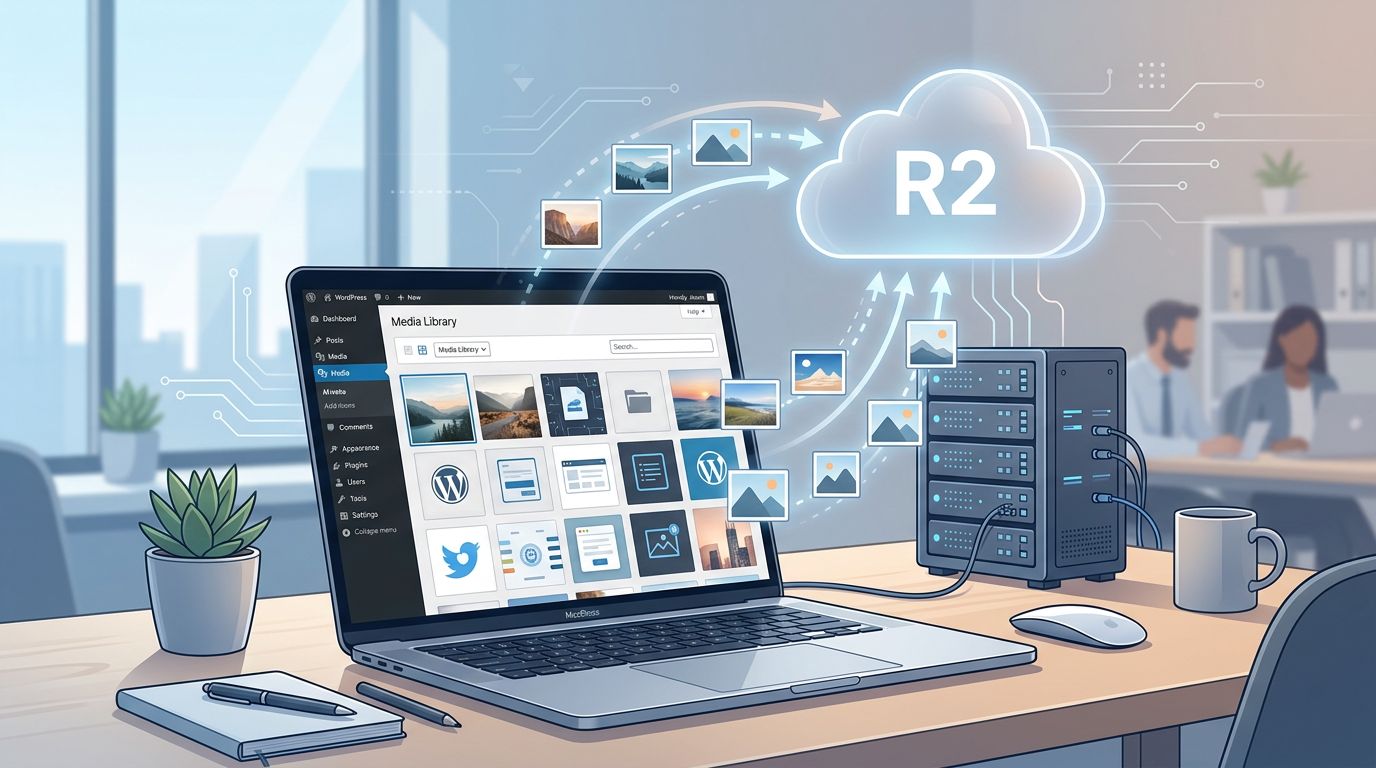
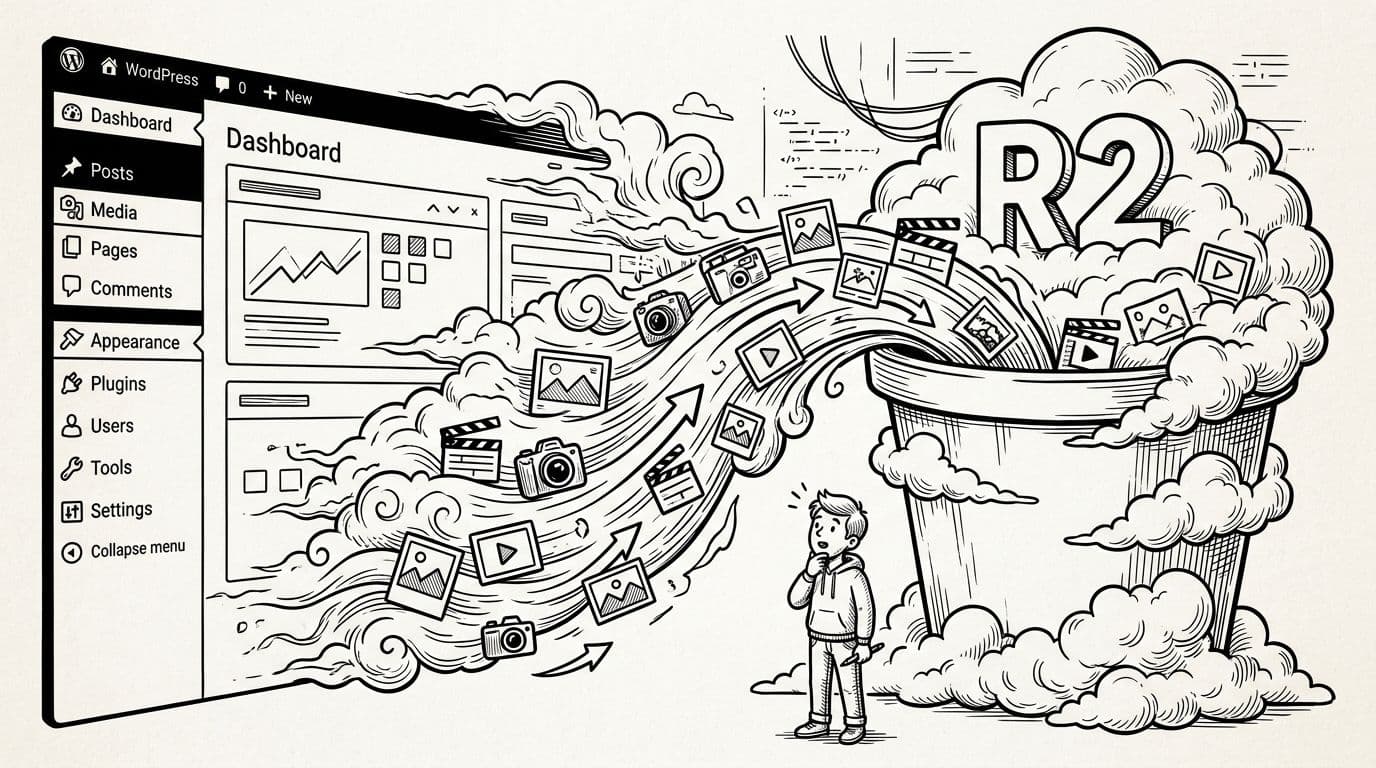
That’s why I like WordPress Cloudflare R2 setups in 2026. Media offload moves your uploads out of wp-content/uploads and into Cloudflare R2 object storage, so your WordPress server stops hauling image files all day. Unlike other providers that charge egress fees and bandwidth costs, Cloudflare eliminates these expenses. Your pages can feel lighter, and your origin server gets a break.
What follows is the exact approach I use now: a practical setup, a calm migration plan, and a few gotchas that can save you a long night of broken thumbnails.
What offloading to R2 actually changes (and what it doesn’t)
Offloading sounds simple, but it helps to be clear on the “plumbing.”
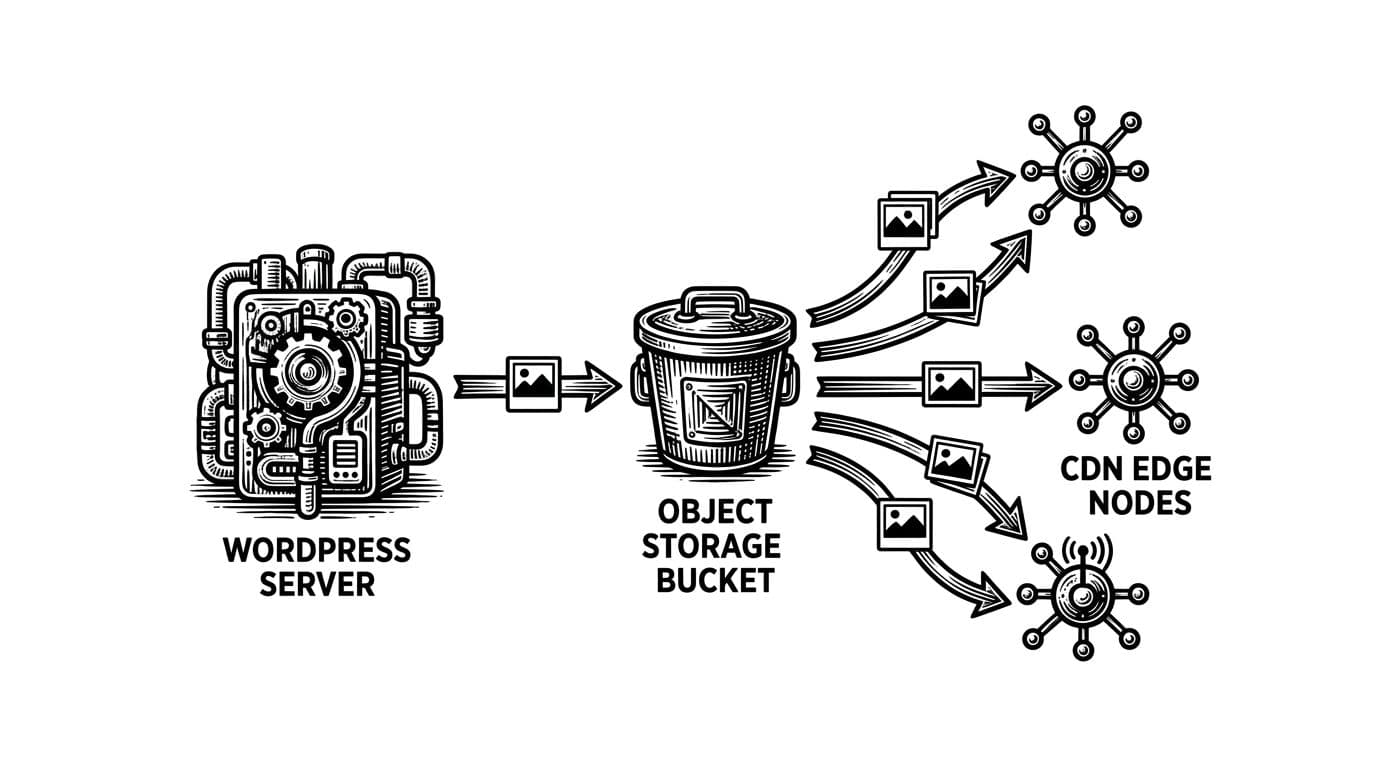
- Before: WordPress writes uploads to your web server, and visitors download files from that same server.
- After: WordPress still manages attachments, but files live in cloud storage; visitors download them through a global CDN network. Your pages reference the Cloudflare R2 (or custom domain) URLs instead of your origin.
Your database stays on your host. Your theme stays on your host. Admin still works the same. You’re mostly changing one thing: where media bytes come from.
This is why offloading feels like moving your pantry into a nearby storage unit. You still cook in the same kitchen, you just stop storing every bag of flour under the sink.
One more nuance: some people “push” everything to R2 in one batch. Others use a “pull-through” pattern where files move over time as traffic hits them. I like the idea, and I’ve seen it explained well in Gaurav Tiwari’s R2 asset setup, but for most WordPress sites I manage, a normal offload plus a controlled bulk migration is easier to support.
My pre-flight checklist before I touch a plugin
I’ve learned (the hard way) that media migrations punish rushing. So I do this first:
- Clone to staging: Use Automatic Migration for the same theme, same plugins, same media, different domain.
- Back up files and DB: I want a fast rollback if URLs get messy.
- Check image sizing behavior: WordPress can generate multiple sizes per upload, and that affects what must be offloaded. If you’ve ever fought the
-scaledsuffix, see how to disable large image scaling in WordPress before you migrate, not after. - Decide how you’ll speed things up overall: Offloading helps, but it’s not the only knob. I usually pair it with Cache Rules, caching, and image compression ideas from these WordPress speed improvement tips.
- Lock down admin forms: During migration weeks, bots love to sniff. If you want a clean, privacy-friendly CAPTCHA, I’ve had good results when I add Cloudflare Turnstile to WordPress as part of Zero Trust.
If you change URL rewriting without a safety net, you can create a site-wide “broken image festival” in one click.
Once those basics are handled, the actual R2 setup feels much calmer.
Set up your Cloudflare R2 Bucket and keys (clean and minimal)
R2 is S3-compatible storage, which is why so many WordPress tools can talk to it. In March 2026, the flow is still straightforward:
- Create an R2 Bucket in Cloudflare: Pick a bucket name you won’t regret, because it ends up in endpoints and configs.
- Decide how files will be served:
- Quick start: the R2 public endpoint format (handy for testing).
- Cleaner long-term: a custom domain (like
media.yoursite.com) proxied through Cloudflare.
- Create an API Token: I keep permissions narrow to Object Read & Write for one R2 Bucket. Don’t hand it the keys to the kingdom.
- Note your connection details: You typically need R2 Bucket name, Account ID, Access Key ID, Secret Access Key, and an Endpoint URL. Many tools use region
autofor R2. - Set CORS if required: Some setups need it for uploads, especially if you use direct-to-bucket flows. If you only serve images, you may not need much here, but I still check early.
- Think about cache headers: Your CDN can only cache well if your objects allow it. I prefer long cache times for versioned assets, shorter for anything that might change.
If you want another perspective on the moving parts, I’ve seen the key R2 details summarized well in Marinus Klasen’s R2 offload notes.
Connect WordPress to Cloudflare R2 (two routes I trust)

I pick between two approaches, depending on the site and the team.
Option A: A WordPress plugin with a UI (easiest day-to-day)
This is the “agency-friendly” route. You enter keys, pick a bucket, configure options like Custom Domain and Public URL, enable auto-offload, and rewrite URLs. Some plugins also handle bulk sync and thumbnails.
If you already use a media manager, it can be convenient to use something with a built-in R2 connection, like WP Media Folder’s Cloudflare R2 integration. I like this style of tool when clients need a polished interface.
Option B: S3-compatible offload (more control, fewer knobs)
This route is great when I want minimal moving parts and I’m comfortable editing config.
A common pattern is using an S3 Compatible offload method with S3 Uploads (often via a GitHub-distributed plugin) and setting constants in wp-config.php. WordPress communicates with the storage through S3 APIs. The exact constant names depend on the tool, but the shape looks like this:
S3_UPLOADS_BUCKET(your bucket)S3_UPLOADS_KEYandS3_UPLOADS_SECRET(your token credentials)S3_UPLOADS_REGIONset toautoS3_UPLOADS_ENDPOINT(your R2 endpoint)
If you prefer starting from an existing codebase, it can also help to browse an implementation like this WordPress Cloudflare R2 integration plugin repo to see how others handle endpoints and URL rewriting.
Migrate old media, then test like a pessimist
After new uploads successfully land in R2, I migrate old files in batches. Big libraries can take hours, so I don’t do this mid-day on a busy store.
Here’s my order of operations:
- Bulk Sync existing uploads: Use your plugin’s Media Synchronization tool, or WP-CLI if your stack supports it.
- Confirm thumbnails moved too: WordPress can generate many sizes per image. If your offload misses them, pages break in weird places.
- Enable CDN URL Rewriting: Only after you know R2 has the files.
- Spot-check real pages: Home page, category pages, top 10 posts, and any page builder layouts.
- Watch for classic errors:
- 403 or AccessDenied (bad keys, bucket permissions, or wrong endpoint)
- Mixed content (HTTP assets on an HTTPS site)
- 404s for old sizes you thought existed
- Broken Image Transformations (missing AVIF and WebP support disrupting modern image delivery)
- Cache carefully: Clear any page cache after rewriting URLs. Then let your CDN cache the new media URLs.
My rule: if I can’t explain where an image URL points in one sentence, I’m not done testing.
Conclusion
Offloading media to WordPress Cloudflare R2 in 2026 isn’t hard, but it rewards patience. I start with staging and backups, keep the Cloudflare R2 setup simple, then migrate in batches with URL rewriting last. If you set it up cleanly, your origin server stops being the pack mule for every image on your site, significantly reducing server load.
If you’re migrating a large media library to WordPress Cloudflare R2, plan one calm “migration night” and keep notes. Future you will thank you.