
Best WordPress Image Optimization Plugins in 2026 Compared (Real-World Trade-offs)
Table of Contents
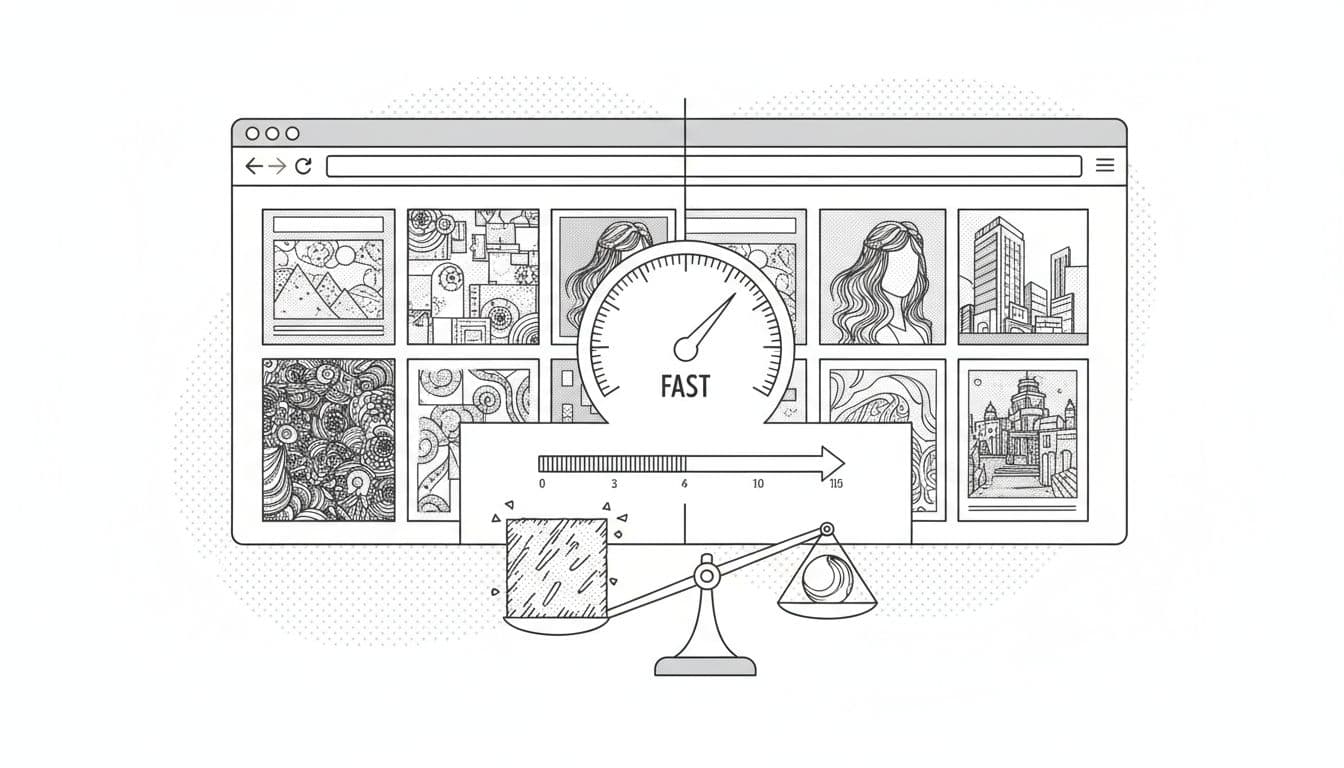
If your site feels “fine” on desktop but drags on mobile, images are usually the reason. Image optimization is the primary factor for improving page load times on mobile devices. I see it on blogs, WooCommerce stores, and even polished agency builds. A few oversized hero shots can quietly wreck WordPress image optimization plugins results, which improve site speed and SEO rankings, bump your LCP, and turn a fast theme into a slow experience.
In 2026, the bar is higher. Core Web Vitals punish heavy pages, and modern formats (WebP, plus AVIF where it fits) aren’t optional for image-heavy sites. The good news is that the best plugins now handle compression, conversion, and delivery with a lot less babysitting. The bad news is that every “easy button” comes with trade-offs.
What I look for in image optimization in 2026 (before I install anything)
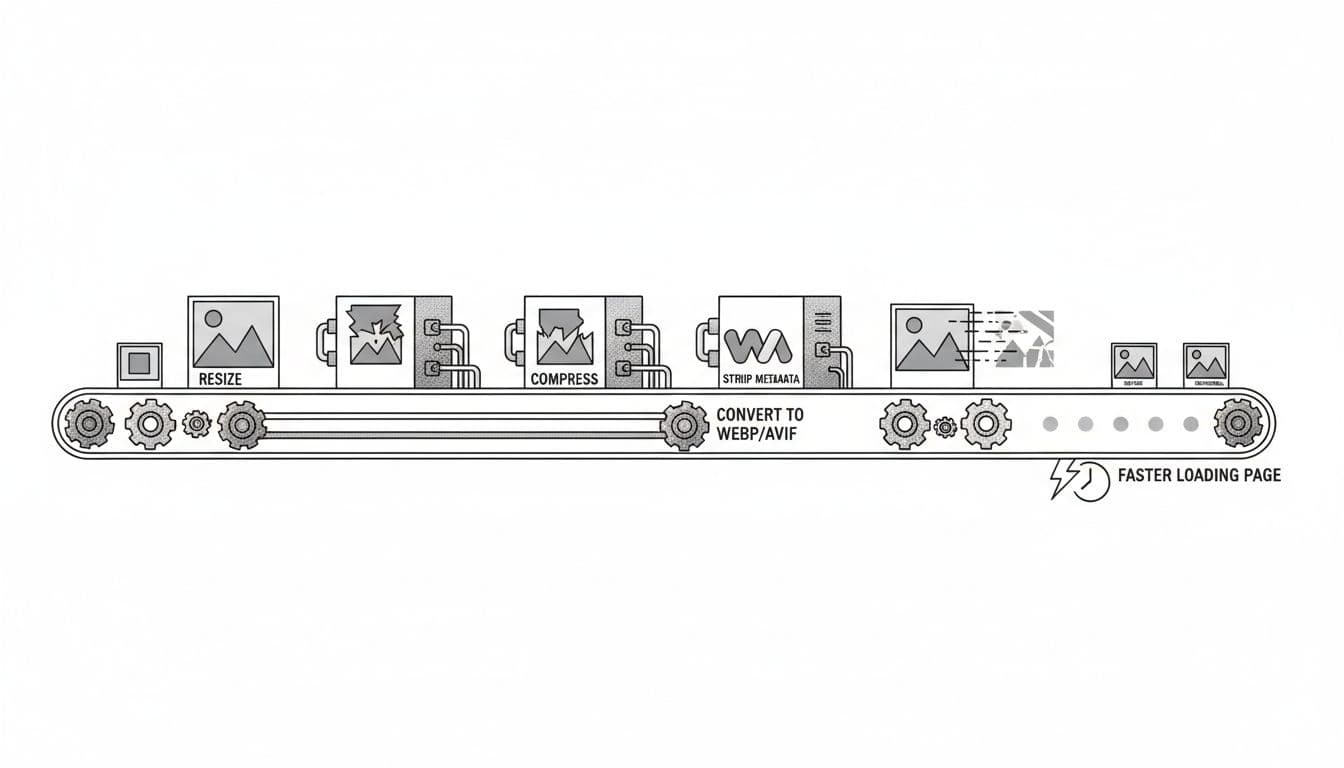
First, I focus on what actually moves the needle for Core Web Vitals. Use PageSpeed Insights to check yours; Largest Contentful Paint (LCP) often comes from the largest image in the viewport, usually a hero image or featured image. So I want a plugin that can compress well and serve the right size fast. Next, I watch CLS. If your images don’t have dimensions set, the page jumps while they load. That’s a theme and markup issue too, but image tools can help by keeping sizes consistent and avoiding weird resizing behavior.
Format support matters more than it did a couple years ago. WebP conversion is the baseline for next-gen image formats, while AVIF can be even smaller at similar quality. Still, AVIF can cost more CPU to encode, and not every workflow handles fallbacks cleanly. I treat AVIF as “use it when it helps,” not “force it everywhere.”
Delivery is the other half of the story. Some plugins optimize on your server, while others push images through a CDN that also handles resizing per device. CDN delivery often boosts mobile performance and enhances user experience because it serves lighter images automatically. On the other hand, you’re trusting an external service, and you might hit plan limits.
Finally, I avoid double-optimizing. Two plugins compressing the same files is like washing a hoodie twice on hot, it shrinks, fades, and still doesn’t fold itself.
If you want a broader perspective on what other performance teams prioritize, I found this breakdown helpful: image optimization plugin comparison.
2026 plugin comparison table (features that matter, minus the fluff)
Here’s the quick scan I use when I’m choosing a plugin for a client site, checking bulk optimization and image resizing capabilities.
| Plugin | Best for | WebP / AVIF | Delivery style | Where it can bite you |
|---|---|---|---|---|
| EWWW Image Optimizer | Control + lossless compression, unlimited optimization | WebP and AVIF support | On-server, optional CDN | Bulk runs can spike CPU on shared hosting |
| Optimole | Hands-off resizing + CDN delivery | Modern formats supported | CDN with real-time optimization | Plan limits and reliance on external service |
| ShortPixel | Bulk compression with simple workflows | WebP (AVIF varies by plan) | Mostly on-server | Credit limits if you optimize lots of media |
| Smush | Free basics and quick setup | WebP support | On-server | Pro features locked behind paywall |
| Imagify | Fast setup, lossy compression levels | WebP (AVIF varies) | On-server | Monthly quotas, “Ultra” can soften detail |
| WP-Optimize | “One plugin” approach (cache + cleanup) | WebP often in premium | On-server, pairs with CDNs | Feature overlap with caching stacks |
My takeaway: EWWW wins when I want control and predictable costs. Optimole wins when I want the least admin work and strong mobile delivery.
My 2026 picks: what I’d install on real sites (pros, cons, best-for)
EWWW Image Optimizer: the “I want control” choice
I reach for EWWW when the site owner wants to own the process. It can optimize new uploads automatically with background optimization and bulk optimize older images. It also supports next-gen formats (including AVIF support and WebP), plus an optional CDN-style add-on if you want global delivery without switching tools.
Pros
- Unlimited optimization for on-server workflows (great for big media libraries)
- Good format conversion options (WebP, and AVIF when you choose it)
- Flexible settings for quality, resizing, and backups
Cons
- Bulk optimization can be heavy on CPU and disk I/O
- Too many toggles can tempt you into over-tuning
Best for: agencies and store owners who want full control, predictable costs, and the option to add CDN delivery later.
Optimole: the “set it, forget it, ship it” choice
Optimole feels like hiring a silent photo editor who also runs your delivery truck. It optimizes and provides CDN delivery, and it can resize images in real time based on device and viewport to serve responsive images. That responsive behavior is gold for mobile Core Web Vitals, because it stops your site from sending giant desktop images to phones.
Pros
- Strong auto-responsive behavior without manual resizing
- CDN delivery reduces load on your hosting
- Works well for teams that don’t want to touch media settings weekly
Cons
- You’re tied to an external service and its limits
- If the CDN is blocked in rare environments, you need a fallback plan
Best for: bloggers and ecommerce teams who want better mobile scores without spending weekends in the Media Library.
Smush: the “free basics” choice
I grab Smush for sites that need simple, no-cost image handling. It delivers lossy compression automatically on uploads and includes bulk optimization to process your entire library with minimal effort.
Pros
- Free lossy compression keeps file sizes tiny
- Easy bulk optimization for existing images
- No setup hassle for basic needs
Cons
- Advanced options require the pro upgrade
- Fewer next-gen format choices in free version
Best for: hobby sites, new bloggers, and tight budgets getting started with optimization.
ShortPixel, Imagify, and WP-Optimize: still worth it in the right scenario
ShortPixel and Imagify remain solid for quick image optimization with WebP conversion and minimal fuss, but you should plan around quotas or credits if you publish heavily. WP-Optimize is a good “all-in-one” for smaller sites, since its caching features and database cleanup can help too, but I’m careful with overlapping performance plugins.
For another perspective (and a different test methodology), Elementor’s team also keeps an updated list here: WordPress image optimization plugin picks.
Step-by-step setup checklist for the top picks (fast wins, fewer regrets)
Before you touch settings, pick one plugin like EWWW, Optimole, or Smush (great for background optimization) to own optimization. Then use these checklists.
EWWW Image Optimizer setup (control-first)
- Enable automatic optimization for new uploads.
- Turn on WebP conversion, then confirm your theme serves it correctly.
- Add AVIF only if your plugin handles fallbacks cleanly.
- Set a sane compression level, then test a few “hero” images by eye.
- Run bulk optimization during low-traffic hours to avoid CPU spikes.
- Keep originals (at least early on) so you can roll back.
- Pair it with lazy loading if your pages are image-heavy (I use this WordPress lazy loading images guide as my baseline).
- Re-test key templates (home, blog post, product page) using PageSpeed Insights after changes.
Optimole setup (automation-first)
- Connect the account and enable CDN delivery.
- Turn on automatic resizing for responsive images by device and viewport (this helps site speed and Core Web Vitals).
- Enable modern formats (WebP, and AVIF if your plan supports it).
- Set lazy loading rules (exclude above-the-fold hero images if needed).
- Check image quality on product photos and portfolios.
- Watch plan usage for a week, then adjust compression if you’re hitting limits.
- If WordPress is auto-scaling uploads in ways you don’t want, review this: disable large image scaling in WordPress.
Gotcha I’ve seen: if you change optimization settings after bulk processing, you may need to regenerate thumbnails or reprocess images, depending on the plugin.
Conclusion: the plugin isn’t the strategy, it’s the tool
In 2026, I pick WordPress image optimization plugins based on one question: do I want automation (Optimole), or do I want control (EWWW)? For beginners tackling page load times optimization, Smush or EWWW Image Optimizer make great starting points for image optimization. After that, I test on real pages, not just the Media Library. Start with WebP, add AVIF only when it helps, and don’t let two plugins fight over the same files. Once your images stop being the heaviest thing on the page, site speed improves, enhancing user experience and SEO rankings, and everything else gets easier.